Action Property Default Values in Power Apps Components
In this video summary, we’ll dive into the world of action property default values in Power Apps components. While watching the video will provide the best insights, this guide will help you grasp the key concepts and steps involved in leveraging these powerful features.
Table of Contents
- 🛠️ Introduction to Action Properties
- 🔍 Understanding Default Values Overview
- 🏆 Key Benefits of Default Values
- 🔍 Exploring Action Properties
- 🛠️ Setting Up the Demo
- ✏️ Creating an Action Property
- 💾 Adding Default Values
- 📲 Using the Action Property in the App
- 🔧 Adding Parameters to the Action Property
- 📡 Passing Data and Error Handling
- 📥 Receiving Data in the Component
- 🔄 Understanding Default Values and Fallbacks
- 📊 Return Types and Their Importance
- 🔧 Implementing Return Types
- 🚀 Finalizing the Demo
- 📝 Conclusion and Community Engagement
- ❓ FAQ
🛠️ Introduction to Action Properties
Action properties are a powerful feature in Power Apps that allow you to execute functionality within a component from the app side. Think of them as the magic buttons of your app. They enable you to trigger actions without having to rely solely on user interactions within the component itself. This means you can create a more seamless experience for users by exposing the functionality of components directly to the app.
When you set up an action property, you are essentially creating a contract between your component and the app. This contract defines how the app can interact with the component, ensuring that data is passed correctly and actions are executed as expected. The beauty of action properties lies in their flexibility and robustness, allowing you to create dynamic and responsive applications.
🔍 Understanding Default Values Overview
Default values in action properties serve as a safety net. They ensure that your component behaves predictably, even when the app does not provide specific inputs. When you define default values, you establish a baseline that your component can rely on. This is particularly useful when you want to ensure consistent behavior across multiple instances of the component.
For instance, if you have an action property that expects a certain record structure but the app does not provide that structure based on optional parameters, the default values kick in. This way, your component can still function without throwing errors or behaving unexpectedly. It’s like having a backup plan in place—one that helps maintain the integrity of your application.
🏆 Key Benefits of Default Values
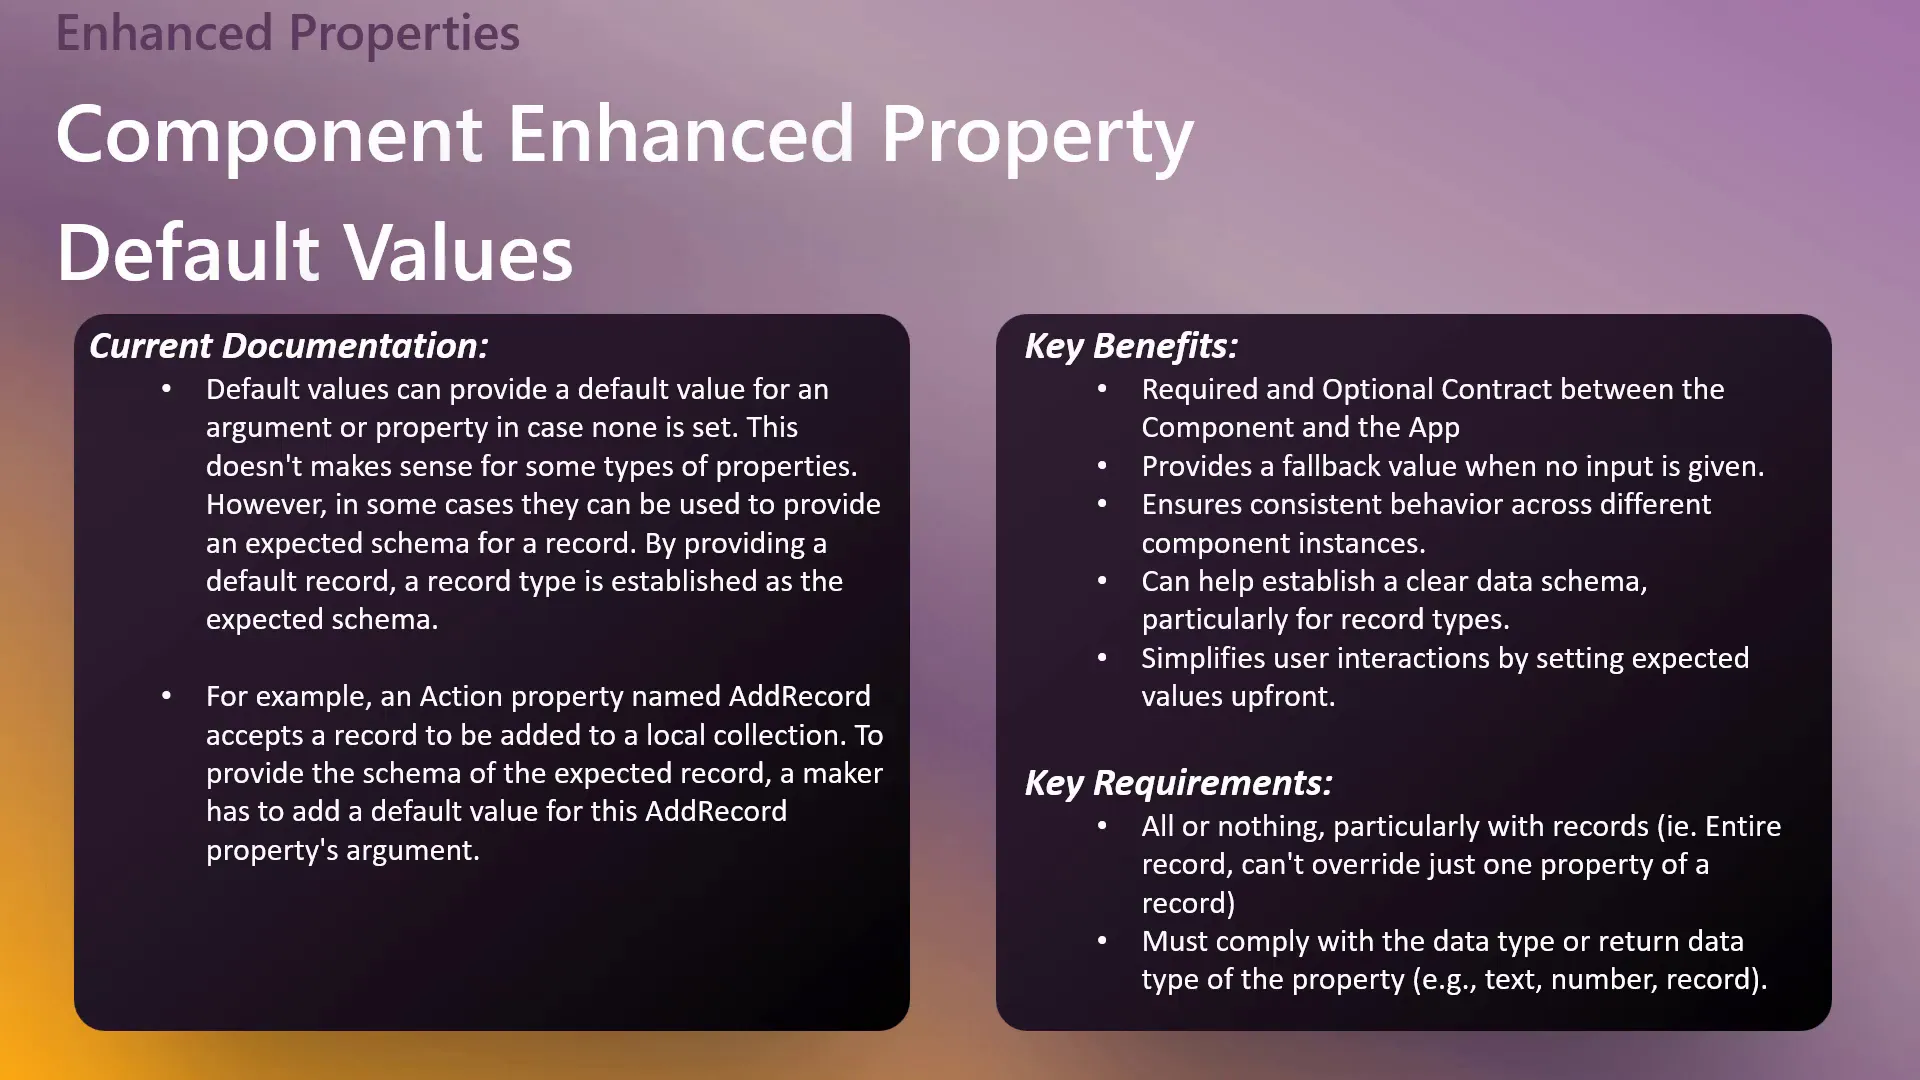
- Consistency: Default values help maintain uniform behavior across component instances, ensuring that your app’s functionality remains reliable.
- Fallback Mechanism: If no input is provided, default values serve as a safety net to prevent errors.
- Clear Contracts: They establish clear expectations between the component and the app, reducing ambiguity in data handling.
- Simplified User Interaction: By setting default values, users have a clearer understanding of what to expect when they interact with your app.
These benefits make default values an essential component of any robust Power Apps application. They not only enhance user experience but also streamline the development process by reducing potential errors.
🔍 Exploring Action Properties
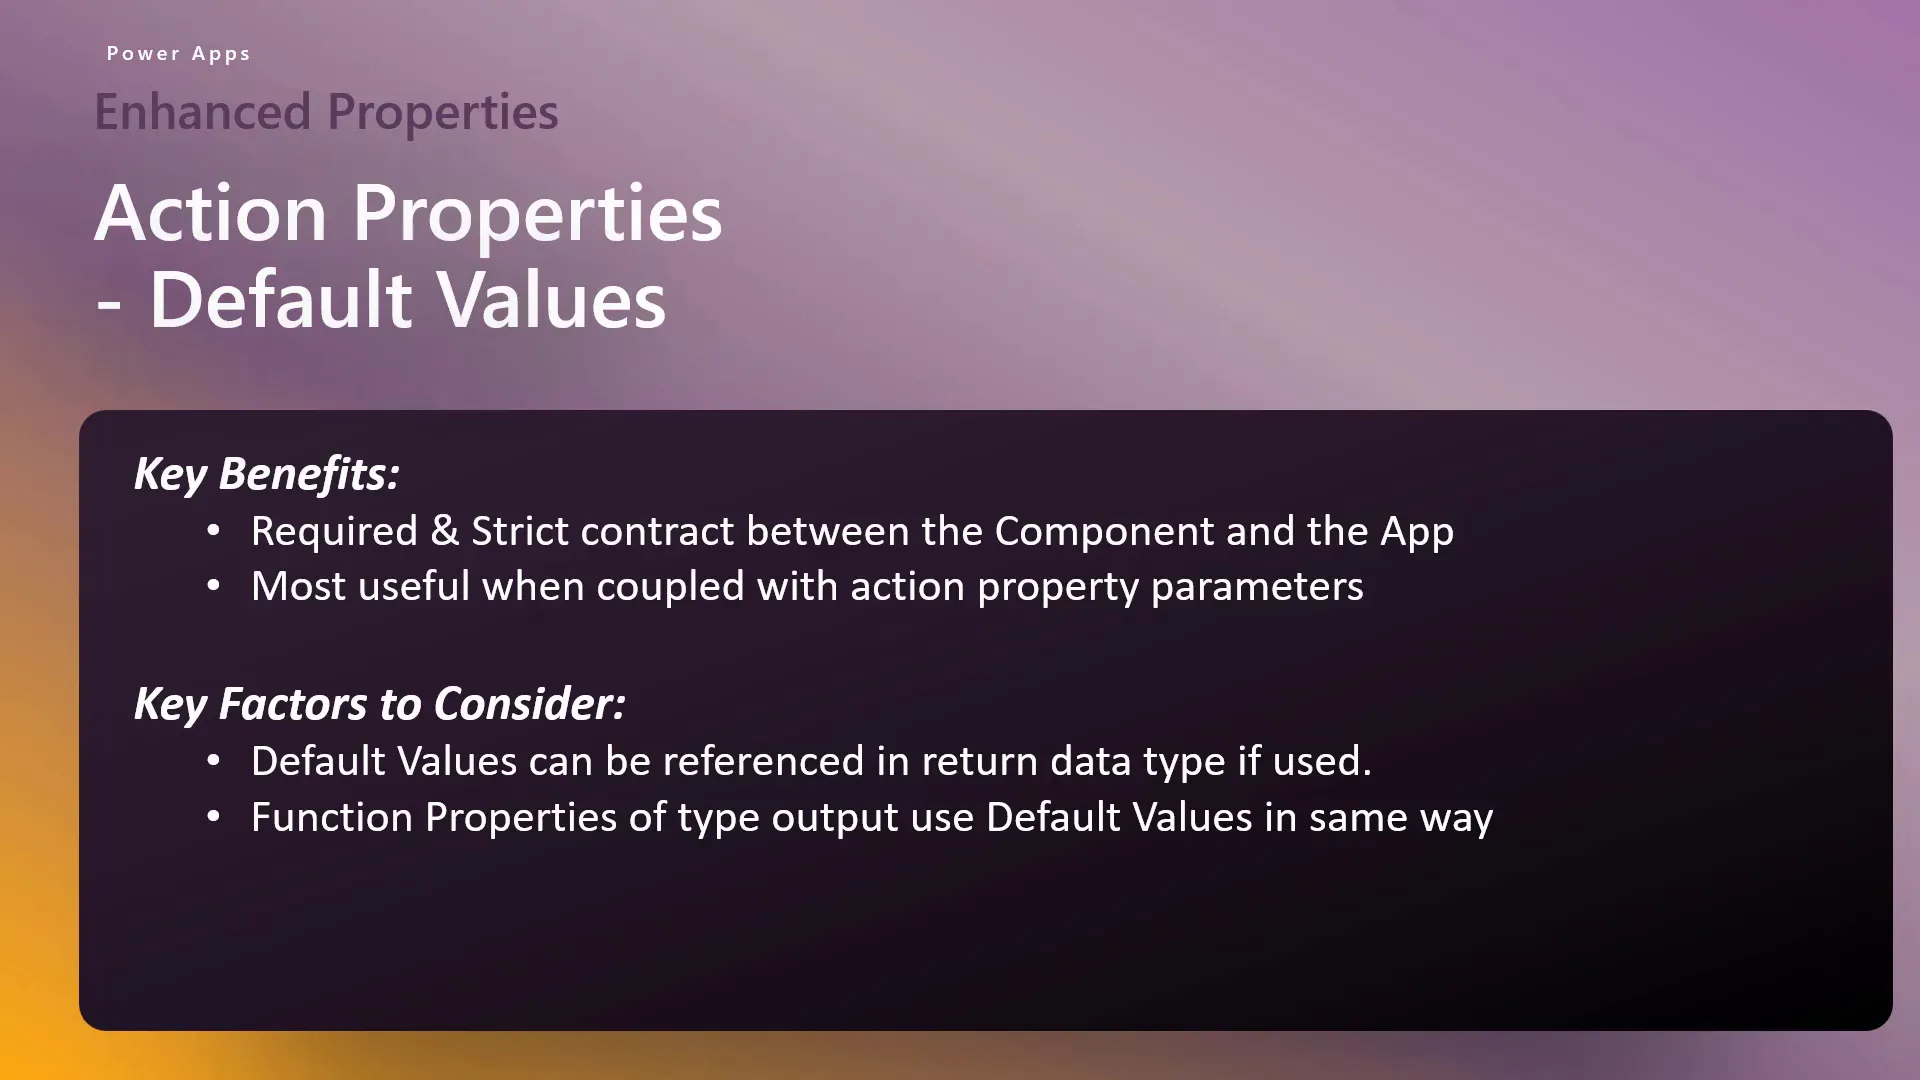
Action properties are defined within a component and can be set to return different types of data. Unlike data properties, which may have a more relaxed contract, action properties require strict adherence to the defined structure. This means that when you set up an action property, you must provide the necessary data for it to function correctly.
When defining an action property, you can also specify a return data type. This return type indicates what kind of data the action property will send back to the app after execution. By enforcing these contracts, you ensure that your app receives the correct data and that the component behaves as intended.
🛠️ Setting Up the Demo
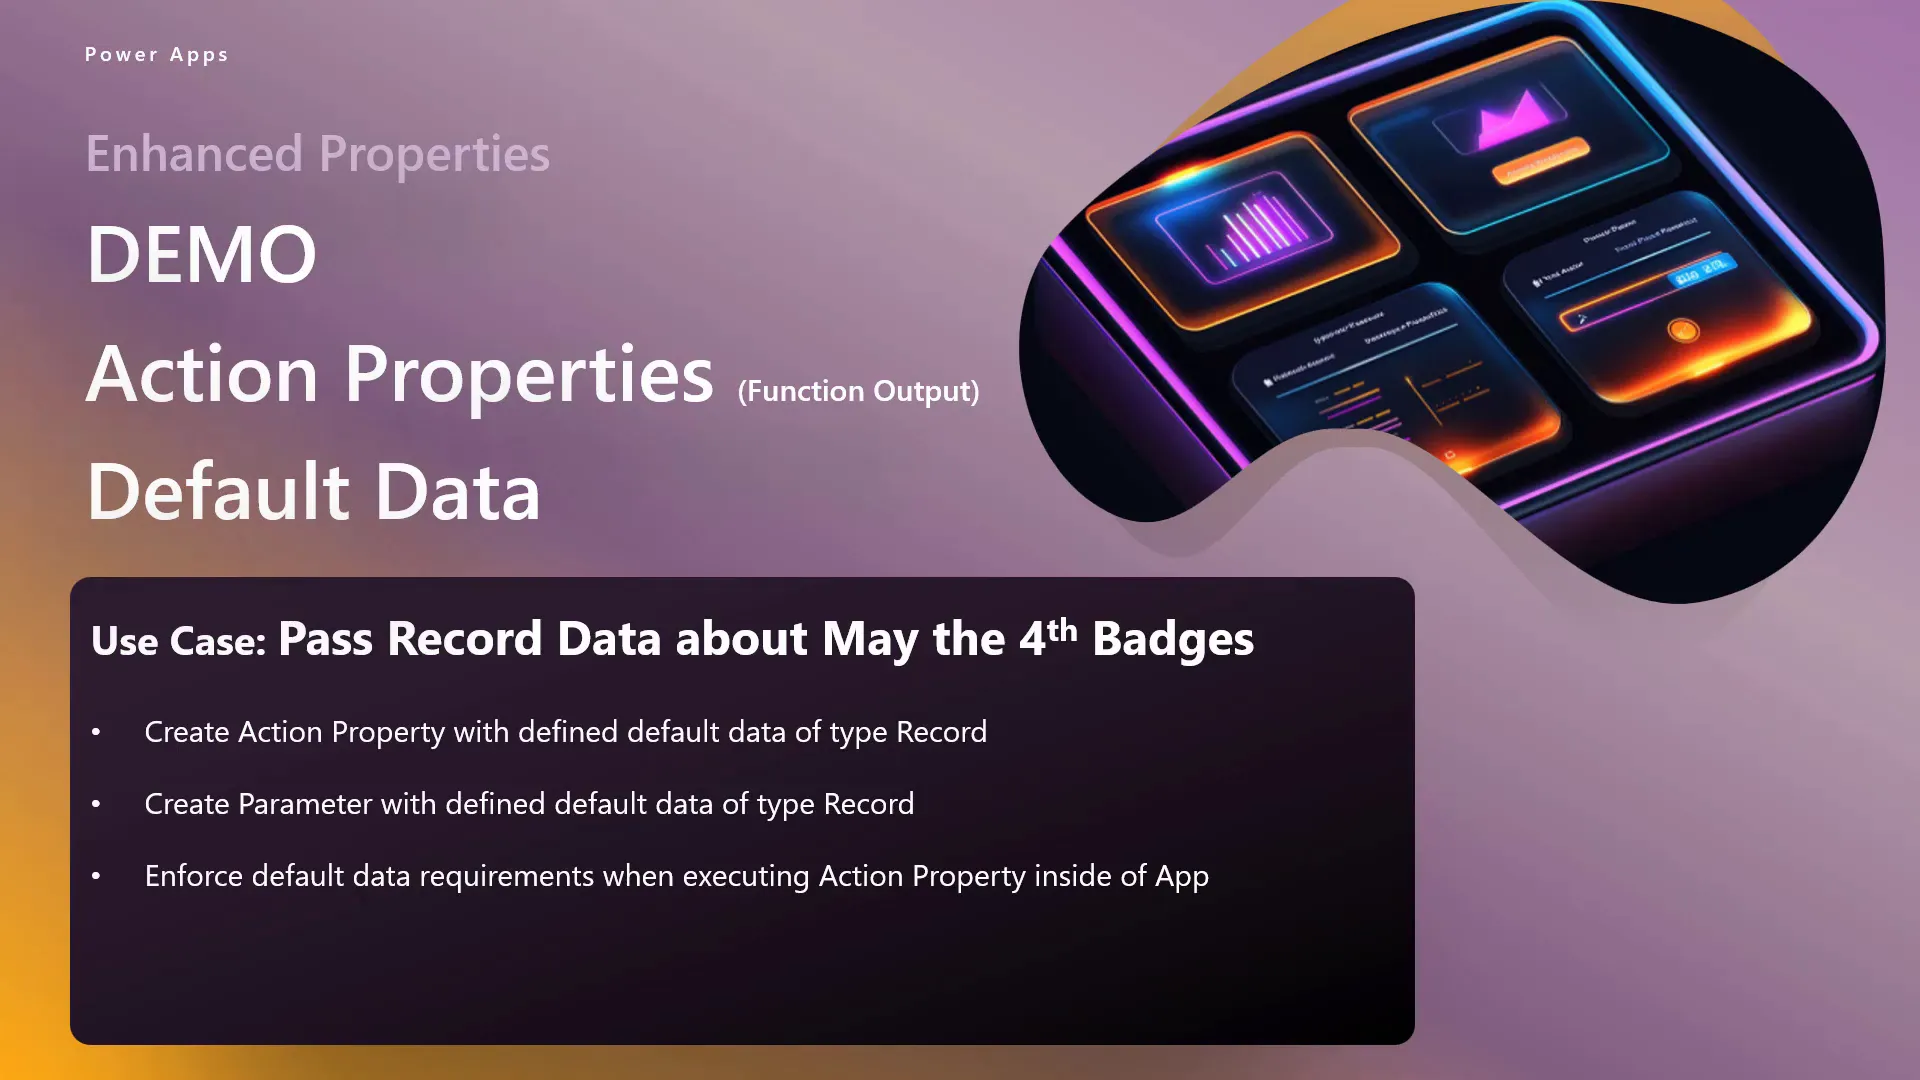
In the demo, we’ll be creating an action property that leverages default values to manage data related to badges.
We’ll start by creating a new custom property for our action, define its data structure, and then set up default values. As we progress, we’ll see how these elements work together to create a seamless user experience.
✏️ Creating an Action Property
To create an action property, navigate to your component in Power Apps and define a new custom property. Here’s how:
- Open your component and locate the properties panel.
- Create a new property and name it appropriately, such as actionRecordProperty.
- Set the property type to Action.
- Leave the return data type as None for now.
This action property will serve as the main point of interaction for your component. By defining it correctly, you set the stage for the functionality you want to achieve.
💾 Adding Default Values
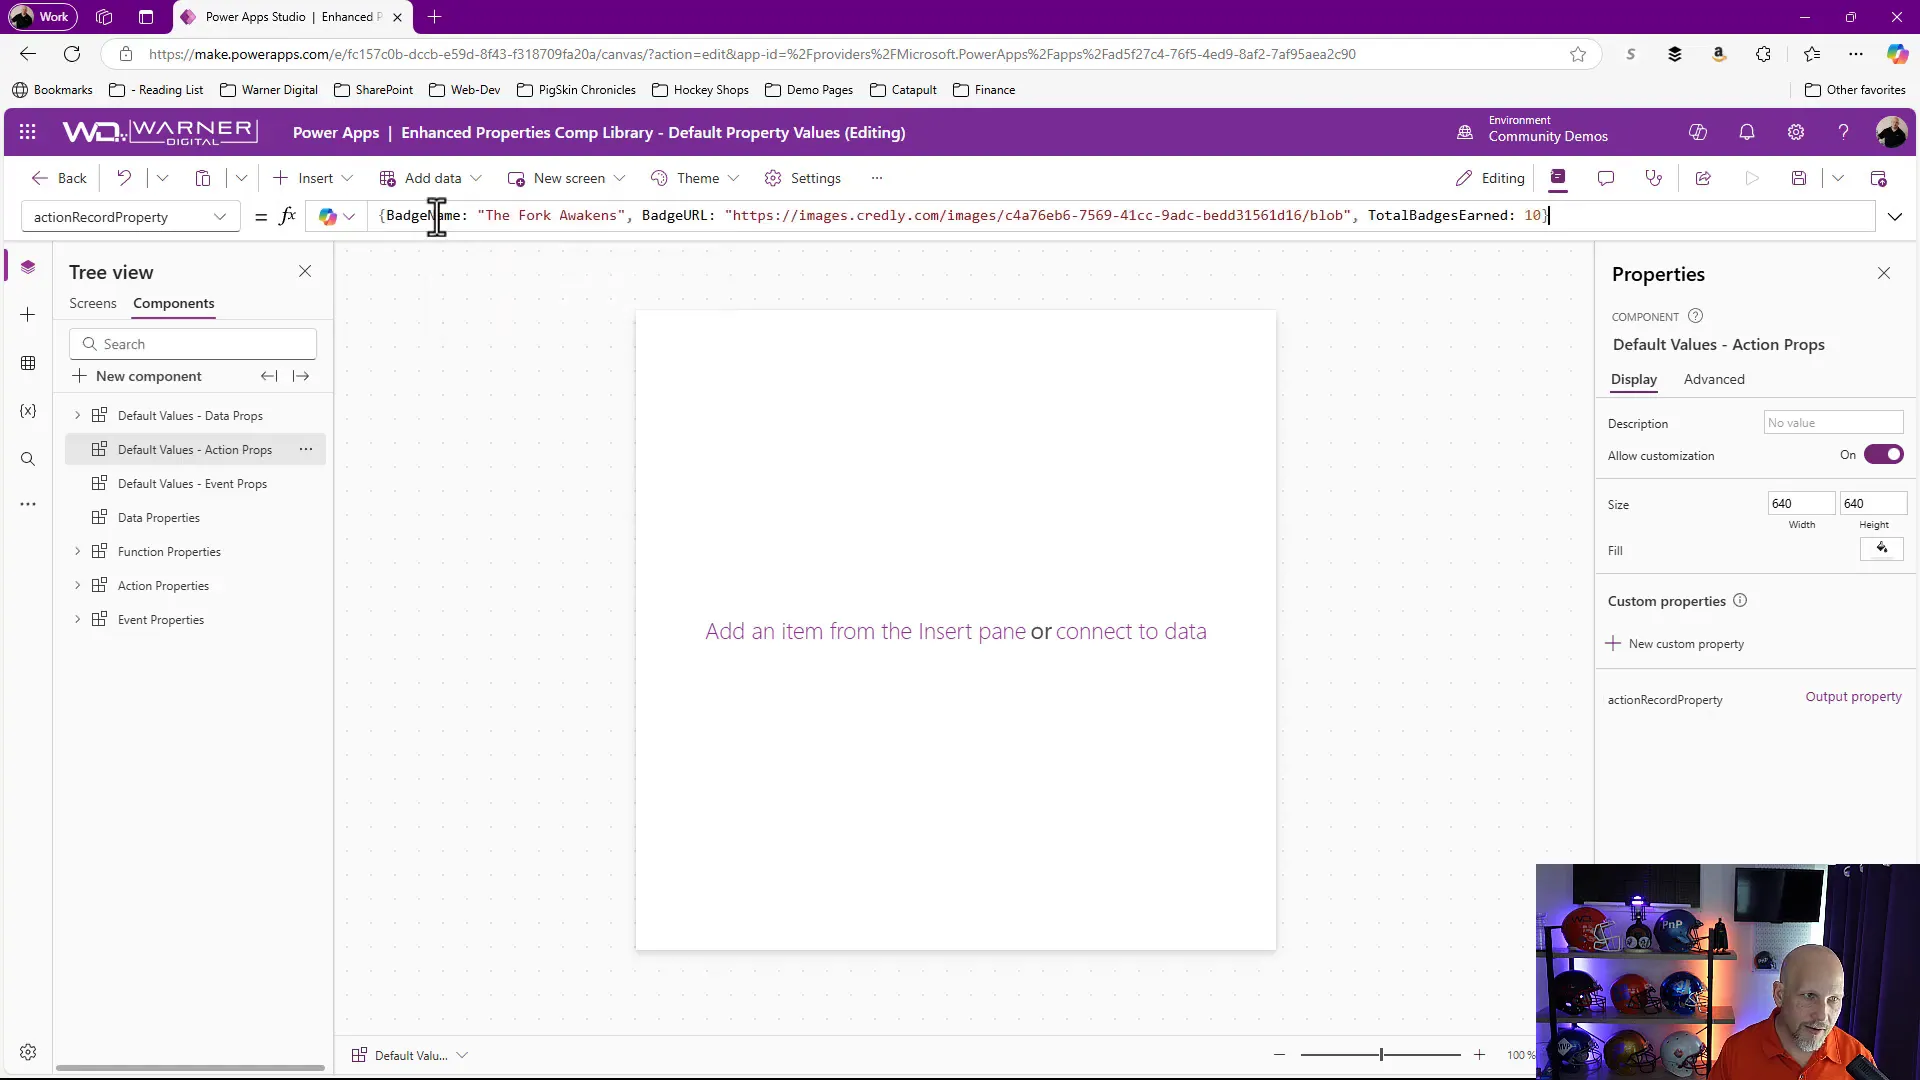
Now that we have our action property created, it’s time to add some default values. This step is crucial for ensuring that our component behaves consistently, even when specific inputs aren’t provided.
To add default values, navigate to the action property settings and define the values you want to use. These could include attributes like badgeName, badgeURL, and totalBadgesEarned. By doing this, you establish a clear expectation for what data your component will utilize, which helps avoid errors during execution.
📲 Using the Action Property in the App
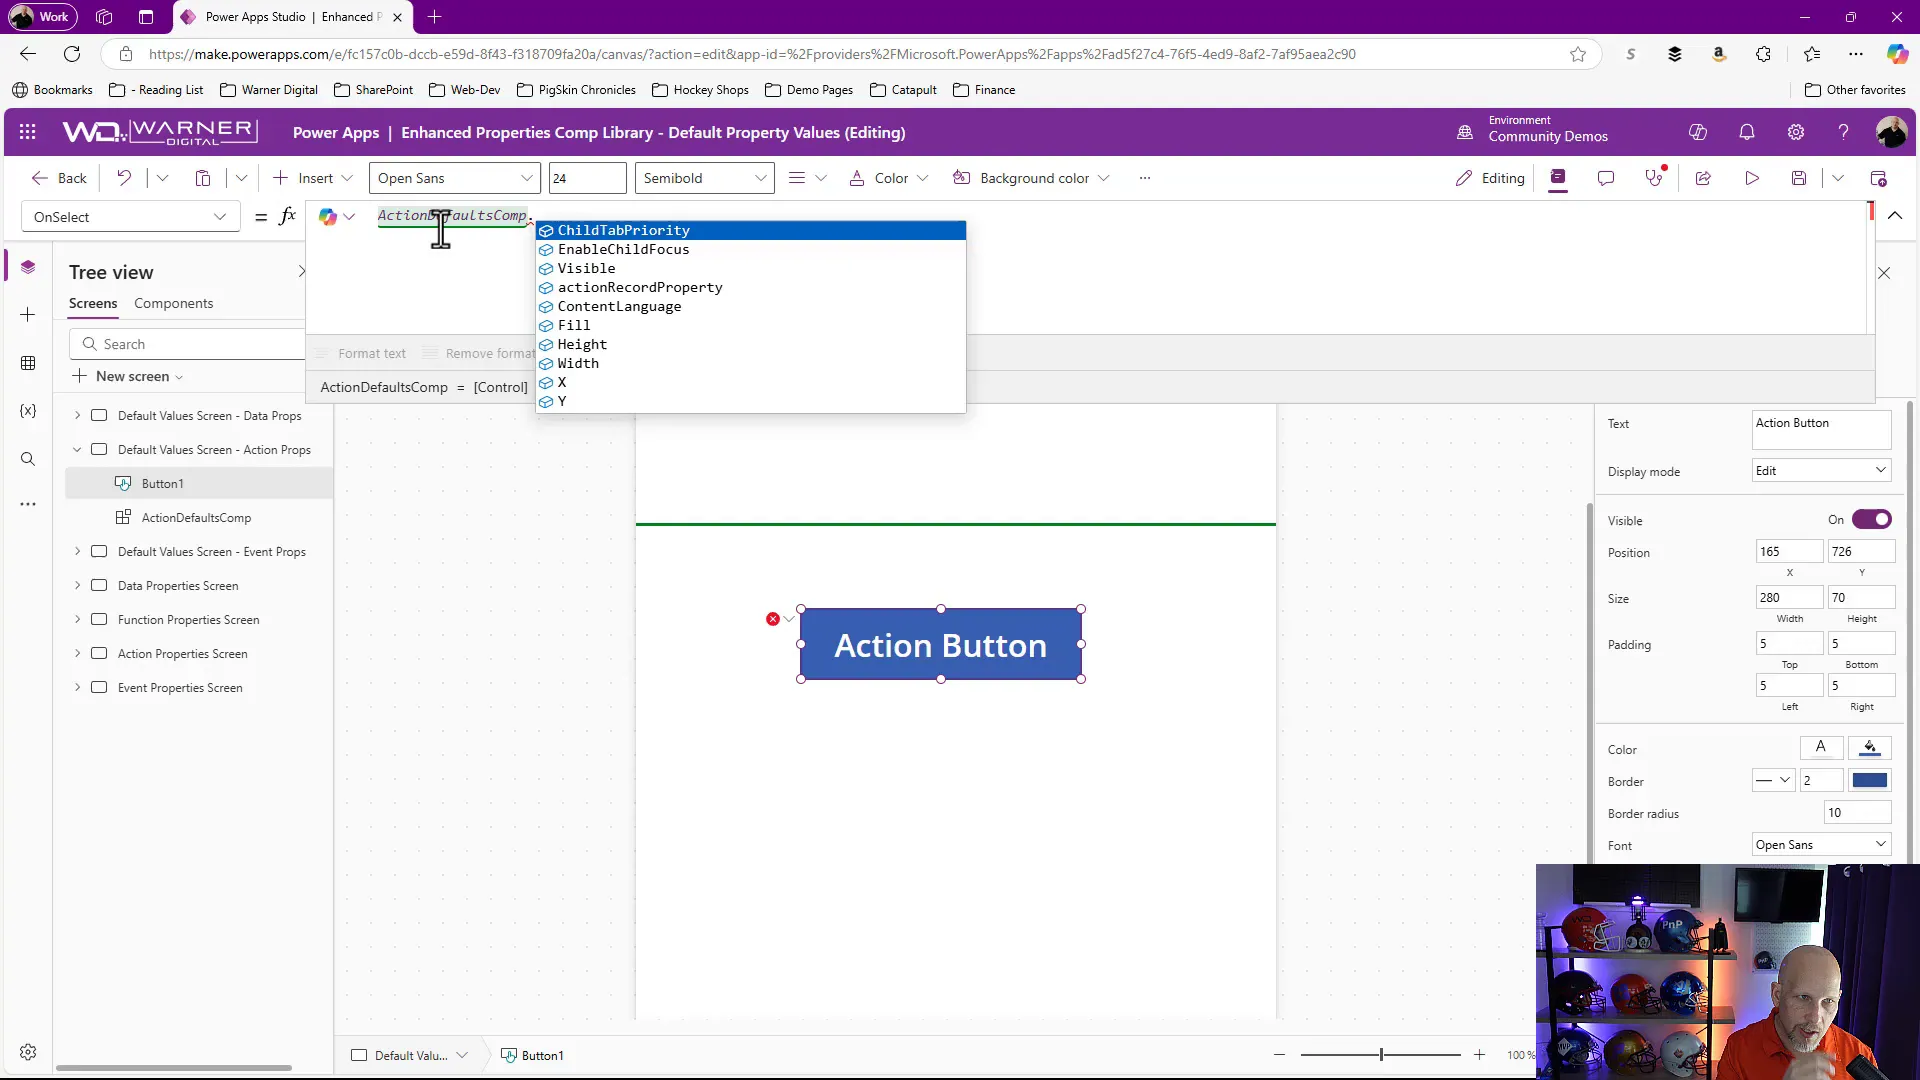
Once your action property is set up with default values, it’s time to implement it in your app. This involves referencing the action property within your app’s controls, such as buttons or other interactive elements.
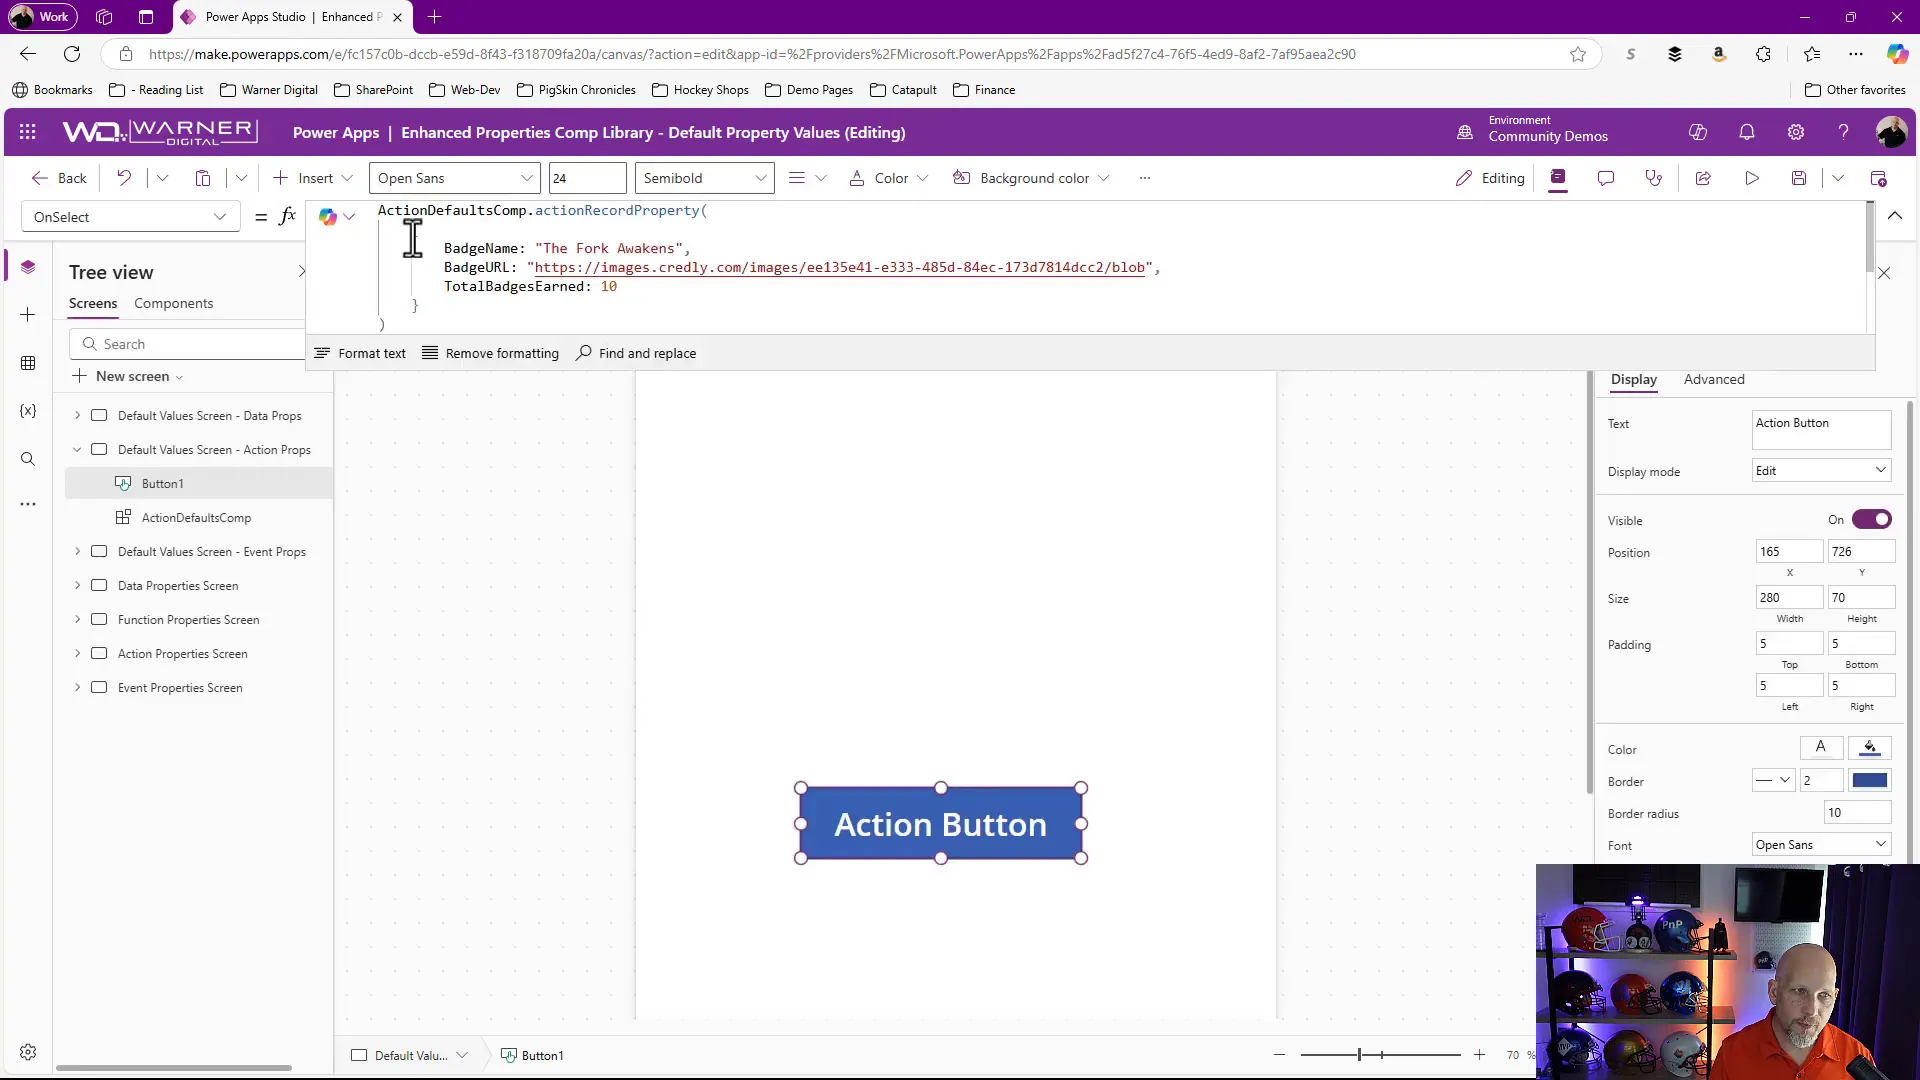
When you create an action button in your app, you can connect it to the action property by using the syntax actionDefaultsComp.actionRecordProperty(). This links the button click to the functionality defined within your action property, triggering the expected behavior. The challenge is this doesn’t use the default values.
🔧 Adding Parameters to the Action Property
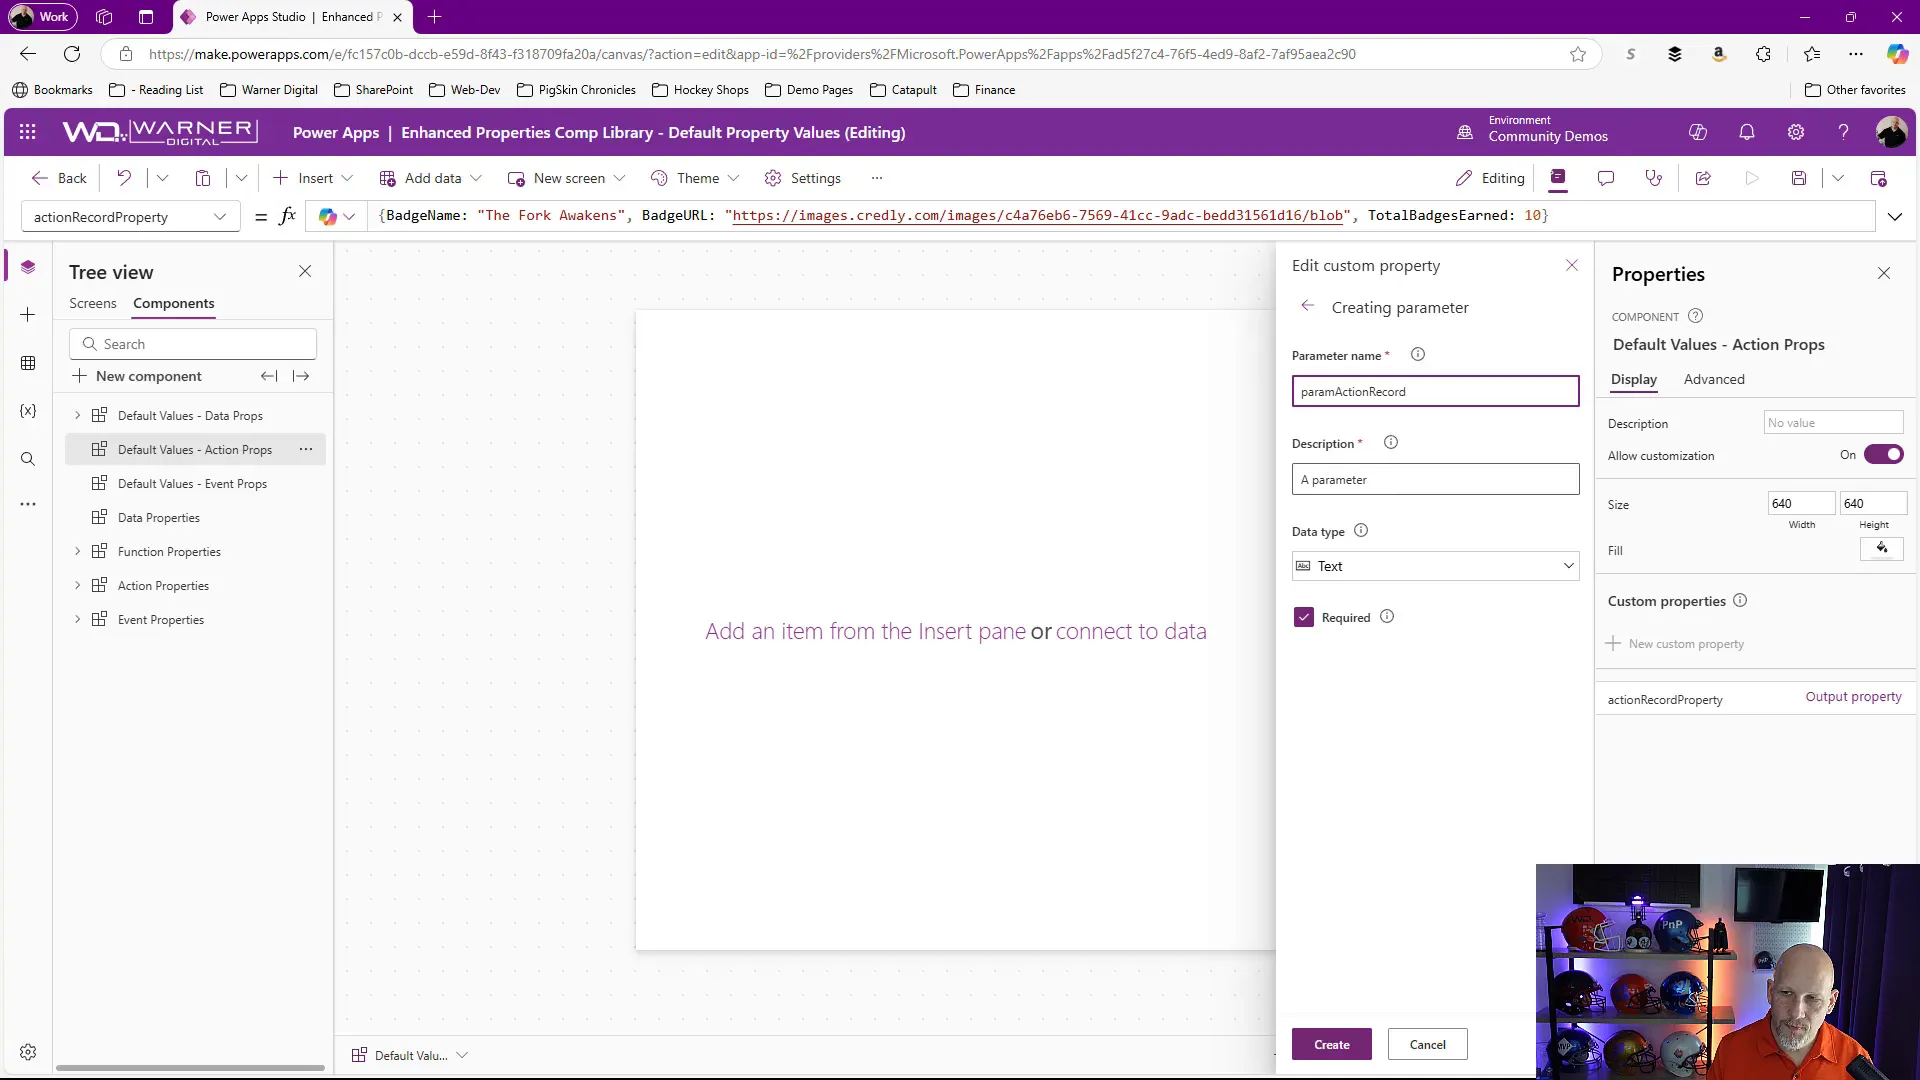
To really take advantage of the default values, you can also incorporate parameters. Parameters allow you to pass dynamic data into your action property, making it more flexible and powerful.
To add parameters, navigate back to your component’s properties and create a new parameter. For example, you might name it paramActionRequired and set its data type to Record. This parameter will now require the app to provide specific data when invoking the action property.
By implementing parameters, you can ensure that your action property receives the necessary data to execute correctly, thereby increasing the robustness of your application.
📡 Passing Data and Error Handling
Passing data between your app and components in Power Apps can be a bit like navigating a maze—exciting but occasionally confusing! 🌀 When you set up your action properties and parameters, you need to ensure that the data types match perfectly; otherwise, you’ll hit a wall.
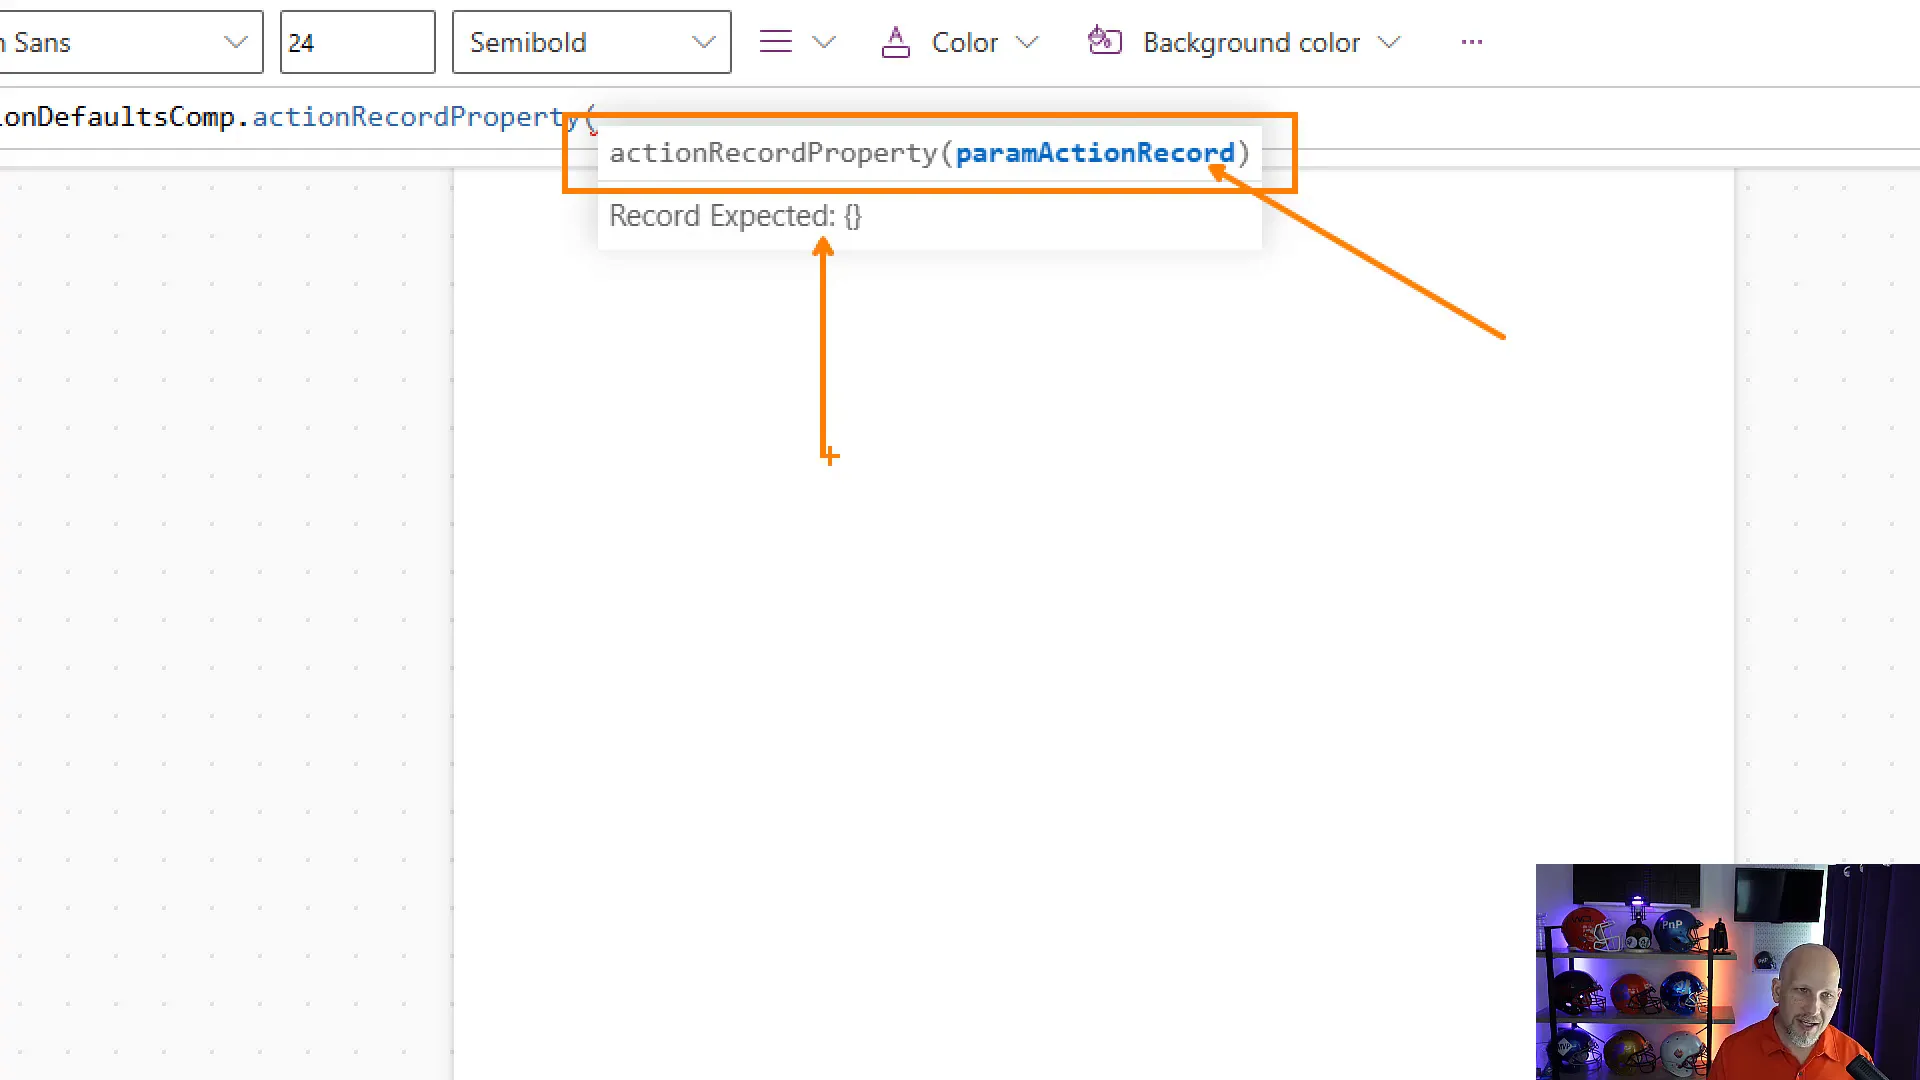
If you’re passing in a record, it’s crucial that all required fields are included. If you forget to add one, you’ll see an error message that says something like “Invalid argument type,” which can feel like a buzzkill. 😅 The key is to make sure you understand the schema you’re working with and to keep that handy as you’re coding.
When you set a parameter to be required, you’re essentially putting up a sign that says, “Hey, I need this info to work!” If the app fails to provide that data, you’ll run into errors. On the flip side, if you set a parameter as optional, the component will gracefully fall back to its default values if nothing is passed in. So, it’s like having a safety net! 🛡️
📥 Receiving Data in the Component
Once you’ve passed data into your component, the next step is to receive it. Think of this as the component saying, “Welcome! I’m ready for your data!” 🎉 You do this by referencing the parameter you set up earlier.
To retrieve the data, you’ll typically use a variable to hold the incoming record’s value. For instance, you might set a variable called imageBadgeURL to the badgeURL from the parameter. This variable can then be used to update an image control or any other UI element in your component.
Using variables allows you to manipulate the incoming data easily, making your component more dynamic and responsive to user interactions. Plus, it adds a layer of flexibility—if you ever want to change how the data is displayed, you can do so without altering the entire setup.

🔄 Understanding Default Values and Fallbacks
Default values are like your trusty sidekick in Components! 🦸♂️ When set correctly, they ensure that your component has something to fall back on when no data is provided. This is particularly useful for optional parameters that may not always get filled.
For example, if you have an optional parameter for badgeName, and it’s not provided, the component will revert to the default value you set earlier. This keeps everything running smoothly and avoids those pesky errors that can crop up when expected data is missing.
Remember, if you set a parameter as required and fail to provide data, the component will throw an error. However, if it’s optional and nothing is passed, it will happily use the default values. This dual functionality not only enhances user experience but also keeps your application robust and error-free!
📊 Return Types and Their Importance
Let’s talk about return types! 🚀 When you create an action property, you have the option to specify a return type. This is crucial because it defines what data your component will send back to the app after executing an action.
If you set the return type to None, the action is a one-way trip—data goes in, but none comes back out. However, if you set it to a specific type, like Record, you’re enabling a round-trip scenario. This means your component can send data back to the app, which can be incredibly powerful for dynamic applications.
Using return types allows you to build more complex interactions between your component and the app, making your applications more functional and user-friendly. So, think of return types as the bridge that connects your component’s functionality back to the app! 🌉
🔧 Implementing Return Types
Now that you’ve grasped the importance of return types, let’s dive into how to implement them in your action properties. 🛠️ To start, navigate to your component and locate the action property settings. Change the return data type from None to Record.
You’ll need to ensure that the data structure you’re returning matches the expected schema. This is where things can get a bit tricky, so pay close attention! If you attempt to return a different data type than what’s expected, you’ll run into errors.
For example, if you’re returning a record, make sure the record contains all the fields you defined in your component. This prevents any unexpected surprises down the line and ensures everything runs smoothly.
📝 Conclusion and Community Engagement
In conclusion, mastering action property default values and their functionalities can significantly enhance your Power Apps experience. You now have the tools to create components that are not only flexible but also robust and user-friendly. 🎊
And don’t forget, you’re not alone in this journey! The Microsoft community is a fantastic place to share ideas, solve problems, and collaborate with like-minded individuals. Join the conversation and get involved by visiting the Microsoft 365 & Power Platform Community. Together, we can achieve amazing things!
❓ FAQ
- What are action properties? Action properties allow components to execute functionality directly from the app side, creating a seamless user experience.
- Why are default values important? Default values provide a safety net, ensuring that your component behaves predictably even when specific inputs are not provided.
- What is the difference between required and optional parameters? Required parameters must receive input to function, while optional parameters will fall back to default values if no input is given.
- How do return types work? Return types define what data will be sent back to the app after executing an action property, allowing for more dynamic interactions.
For more amazing content, be sure to subscribe to the following YouTube Channels:

